Mickey Mouse Drawing Easy: in 8 Step-by-Step Guide for Kids
Hey there, young artists!
Ready to draw one of the most beloved cartoon characters out there? Today, let’s create a super easy ‘Mickey Mouse drawing‘ great for starters like you.
Mickey’s known for his big grin, those famous round ears, and his super friendly vibe. What’s awesome is that you need just a few basic shapes to make him come alive on paper.
Relax if yours looks a bit different because every artist has their unique style, making drawing really fun. I used Sharpie Marker, Ohuhu acrylic color markers and Canson 300gsm watercolor paper for this one, but you can use whatever you have at home or you prefer to use. So, let’s begin our ‘Mickey Mouse Drawing Easy: in 8 Step-by-Step Guide for Kids’ now…
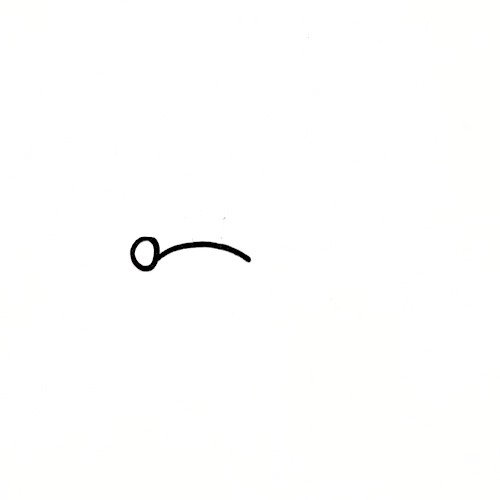
Step 1: Draw Mickey’s Nose and Smile
First, let’s make Mickey’s cheerful face. Draw a tiny circle for his nose, then from there, draw a long curved line to form his muzzle. End it off with another curve going up to make his smile. This part might seem easy, but it sets Mickey’s expression. His happy smile makes him look super friendly and fun right from the start.

Step 2: Add His Eyes and Eyebrows
Time to give Mickey some personality! Draw two tall oval eyes above the muzzle, then add pupils inside each one. Curve the eyebrows above the eyes next. The eyebrows really highlight his playful expression. Plus, it’s okay if they aren’t exactly the same—small differences actually make your drawing look more natural.
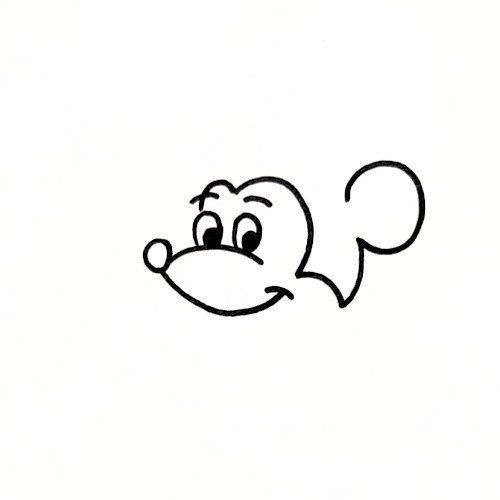
Step 3: Sketch the Side of His Head
Begin near the eyes and draw a curved line that goes around the side of the face, ending with one of Mickey’s famous round ears. Use smooth strokes for this part because big, round shapes are key to Mickey Mouse’s look. Take your time; enjoying the process is part of the fun.
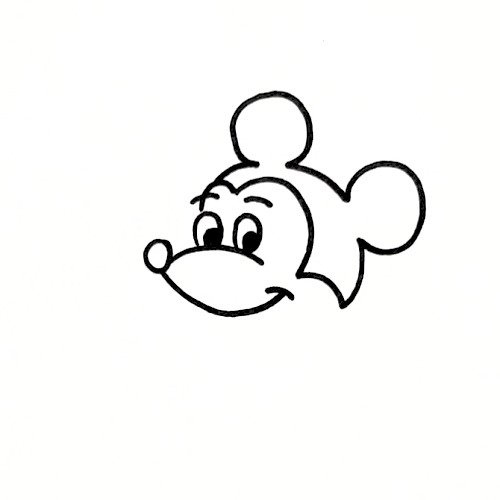
Step 4: Draw Mickey’s Second Ear
Draw another big circle for the other ear, then connect them with curved lines to finish Mickey’s head. Your drawing will be easy to spot by now because those famous ears make Mickey super recognizable worldwide. So, it’s these distinctive circles that help make him so lovable everywhere.
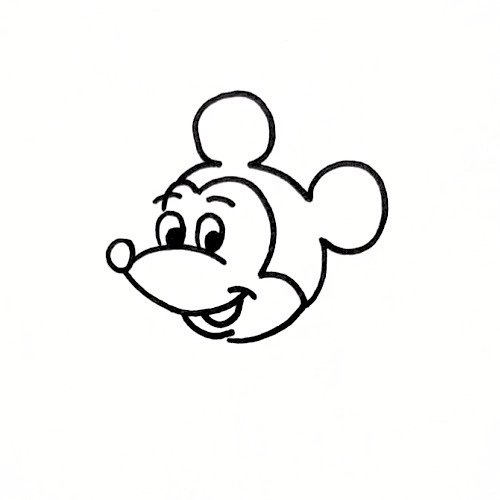
Step 5: Finish the Face Shape
Now, finish Mickey’s lower face. Draw the rounded cheek and chin beneath his smile, connecting these smoothly to the rest of his head. This balances the drawing and gives him that classic cartoon look. Keep those soft, rounded curves for best results.
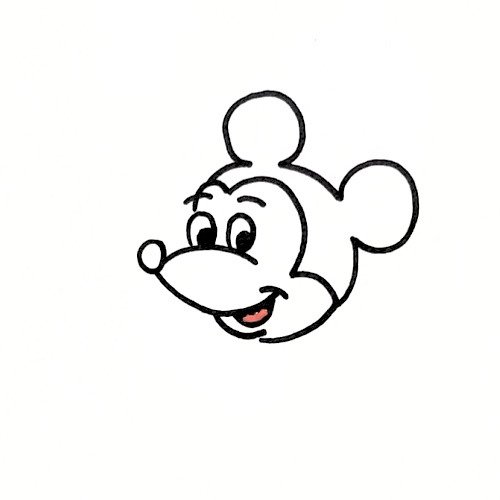
Step 6: Add the Tongue Detail
Draw a tiny curve to show Mickey’s tongue inside his smile. It makes his expression more lively and cheerful. Simple details like this make a big difference too. They help turn basic shapes into a beloved cartoon character.
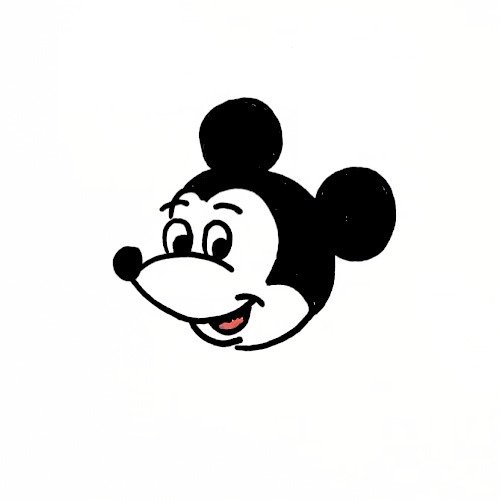
Step 7: Color Mickey’s Head
Use your black acrylic marker to carefully color Mickey’s head and ears, but leave his face area untouched. Color his nose black and add red or pink to his tongue. As you add these colors, Mickey begins to look just like the character from the cartoons we know and love.
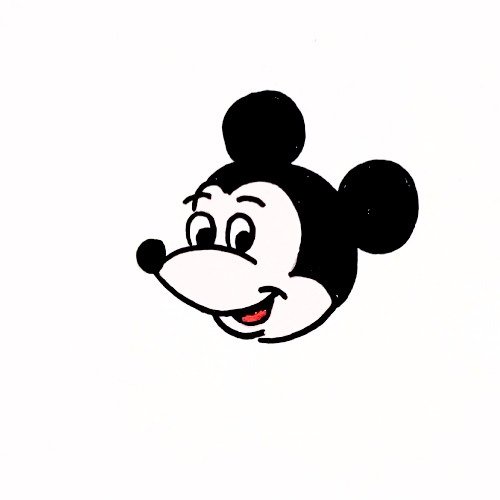
Step 8: Complete Your Mickey Mouse Drawing
Finish coloring any spots that aren’t done yet, and see if any parts need another coat. You can make the black areas darker for a better look.
Congrats! Your Mickey Mouse drawing is finished. Take a moment to admire it, and show it off to your friends or family.
Why Kids Love Drawing Mickey Mouse
Kids love drawing Mickey Mouse because his design uses simple shapes, making him perfect for newcomers. As they sketch a familiar cartoon character, children can work on observation, hand control, and creativity while having fun.
The more Mickey Mouse drawings kids do, the more confident they’ll feel as artists.
Conclusion
So, we hope you liked this Mickey Mouse Drawing tutorial. Following those easy steps meant you drew one of the world’s most well-known cartoon characters with just basic shapes and colors.
If drawing lessons like this one make you happy, check out Oh Parrot for other cool character drawing guides. Practice lots, create freely, and enjoy yourself while drawing.