Hello, little artists
Today, we are going to make a simple Mountain Drawing featuring snow-covered mountains, green hills, cute trees, fluffy clouds, and shining sun. It is a very good drawing for kids, since all you need is some basic shapes and your imagination, in order to turn them into a picturesque view of nature.
Mountains are really fascinating objects to draw in any landscape picture. They can be high, covered with snow, colorful, and adventurous. And today, we will create our mountain scenery step by step, so anyone can do this, including total beginners.
For this picture, I used a Sharpie marker and acrylic markers. You can take them as well as whatever art materials you have in your possession. Crayons, sketching pen, colored pencils, and even pencils are fine.
Let’s create our awesome mountain drawing.
Things You Will Need
Sharpie Marker
Acrylic Markers
Drawing Paper
Or you may use any available crayons, sketch pens, or colored pencils if you have them at home.
Mountain Trivia ⛰️
Did you know that?
There are some mountains which are so high that their summits remain covered in snow even when it’s warm weather below. Higher up on the mountain, it becomes colder, which is the reason why most mountains have snow-white peaks.
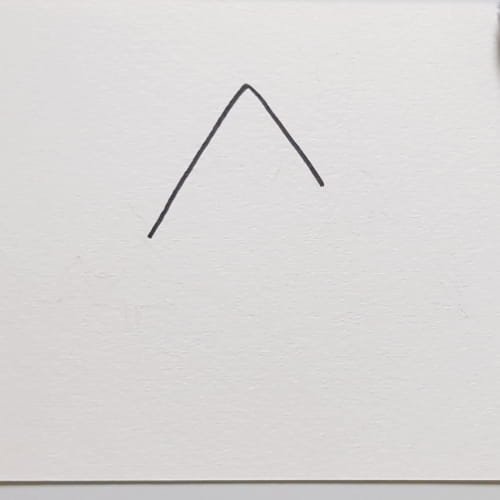
Step 1: Begin Drawing Mountains by the First Peak
Now let’s draw a large mountain peak on the page center. Draw two slanted lines which intersect each other to form the top like the inverted letter ‘V’. This will be the biggest mountain in your painting.
Make sure to keep the peak tall as it will form the focal point of your mountain landscape. Large shapes are a perfect way to create dynamics from the very first moment of your work.
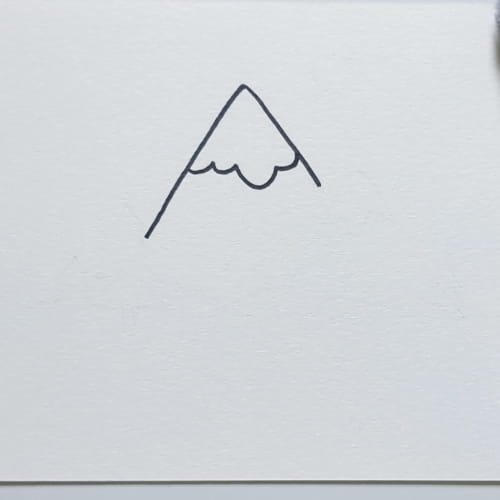
Step 2: Adding Snow to Your Mountain Drawing
Draw a wavy line at the top of your mountain to make it look like it is covered with snow. Remember that this line should be soft and irregular looking because it is snow.
Adding a tiny detail like this changes everything about your mountain drawing. It makes the mountain look much cooler.
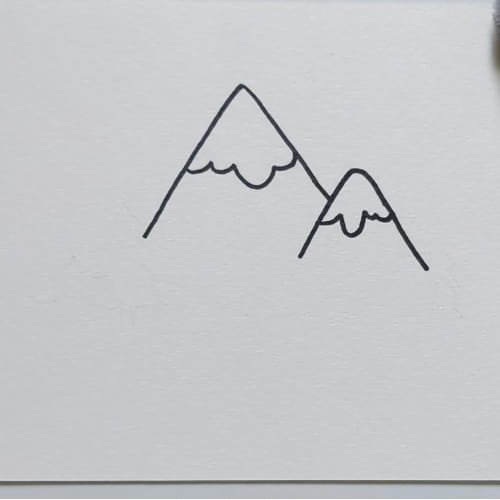
Step 3: Drawing the Second Mountain Peak
In order to make your mountain drawing better, you should add another mountain next to the first one. It can be a little smaller than the previous one.
By adding a second mountain to your drawing, you are making it more realistic and beautiful.
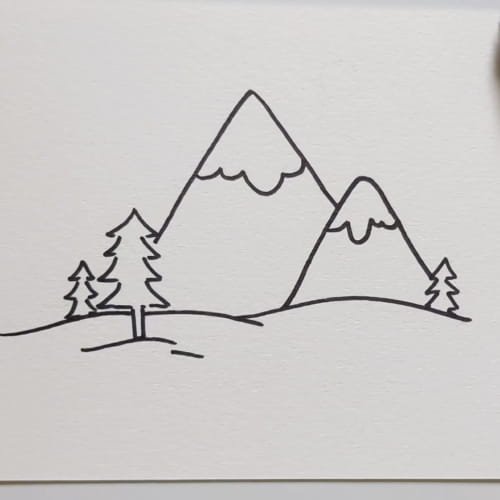
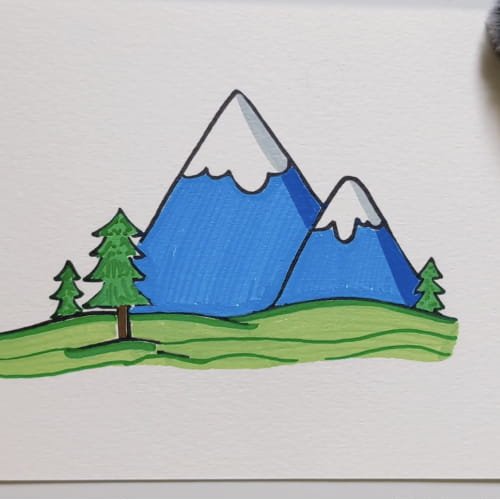
Step 4: Adding the Ground and the Trees to Your Mountain Drawing
Draw a curved line beneath the mountains for the ground. Also, add some pine trees—a tall tree in the foreground and two small trees at the side of the mountains.
The trees bring life into the picture and make it appear calm. The trees also help in creating an outdoors setting for your mountain drawing, rather than just the mountains.
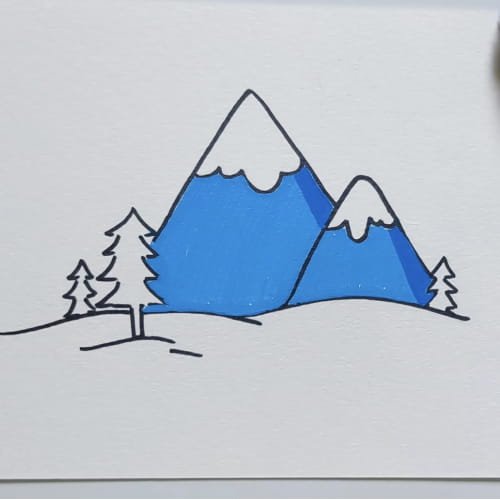
Step 5: Coloring the Mountains in Your Mountain Drawing
Use a blue-colored marker to color the mountains. Make sure to leave the snow on the mountains white so that it still looks like fresh snow. You may even want to use a different shade of blue to color one side of the mountain to give it a shaded appearance.
Coloring the mountains is one of the most interesting steps since your picture becomes very colorful.
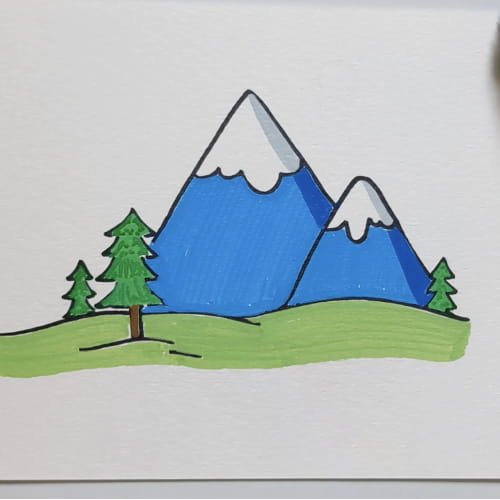
Step 6: Paint Your Mountains with Green Hills and Trees
After that, paint the ground in a new shade of green. Moreover, you should paint the trees in green as well and the trunk in brown color.
It means that this step gives your mountain drawing a unique look. Indeed, the green hills will make the scene look happy, while the presence of trees adds the feeling of a forest near the mountains.
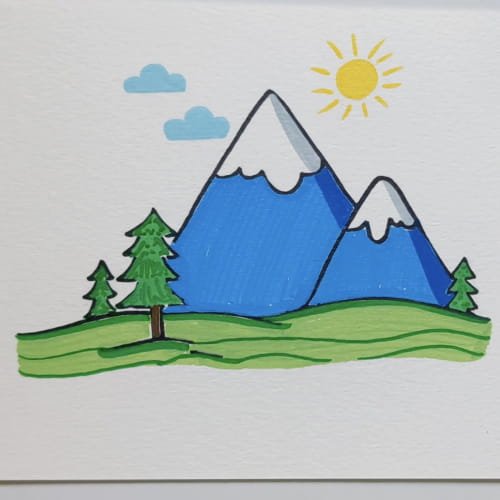
Step 7: Complete the Picture with the Sun and the Clouds
The last element that you need in order to complete your mountain drawing is a sun in the sky and some clouds. They can be painted yellow and blue respectively.
These elements create a warm and peaceful atmosphere in the picture. So, the work is done!
Why Kids Enjoy Doing Mountain Drawings
Children like doing mountain drawings since the activity includes both easy shapes and creative elements. Slanted lines turn into mountains, a zigzag line becomes snow, and small shapes transform into trees and clouds.
Moreover, mountain pictures are beneficial since they teach kids how to make a good line, construct shapes, and fill the space between them properly with coloring. In addition, the scene looks peaceful and mysterious, and that is why drawing mountain pictures is especially exciting.
Conclusion
We hope that you had fun creating the Easy Mountain Drawing for Kids. After a couple of simple instructions, you made a wonderful landscape with mountains, trees, grass, clouds, and sunshine.
Continue doing the mountain drawings and experiment with different colors, add more trees, a river, birds, or some flowers in the background. Every time you do a mountain drawing, you find out something new.
If you liked our mountain drawing lesson, don’t stop here! We have lots more simple drawing lessons for kids for you. Check out : Cute Puppy Drawing in 6 Easy Steps for Kids Blog if you are a beginner or new here.
Watch More Kids’ Drawing and Coloring Videos on YouTube
Check out our YouTube channel for more easy-to-follow drawing and coloring tutorials for kids : https://www.youtube.com/@ohparrot1121/videos
Want to see more drawing ideas, colorful art, and creative updates? Follow our Instagram page:
Instagram: https://www.instagram.com/ohparrot/
Happy drawing!