Are you looking for an Easy Peacock Drawing for Kids? You have come to the right place! This drawing guide is tailored specially for beginners, preschoolers, kindergarten children, and bird-loving artists.
In this easy drawing guide, we are going to show you how to draw an elegant peacock in just a few simple steps. We will be drawing its curved neck first, then the body, followed by the tail feathers and the finishing touches with the help of bright blue and green colors.
This Easy Peacock Drawing for Kids is a fun and straightforward guide with easy steps. Each picture depicts the exact details that you should draw next.
Let’s take our drawing materials and make a cool peacock.
Materials Required
Expensive materials are not required in order to try your hand at this fun Peacock Drawing for Kids tutorial. You can make do with anything that you have at your disposal.
The materials that I have used for this drawing include:
Sharpie Marker
Canson Watercolor Paper
Ohuhu Acrylic Markers
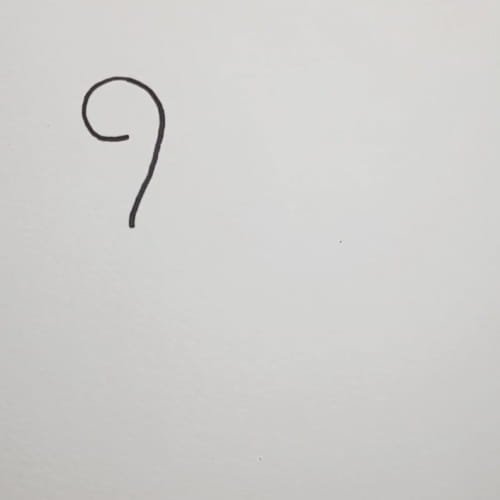
Step 1: Make the First Line for Peacock Drawing for Kids with a Curved Neck
The first step while drawing a peacock is to make a line which will become the neck. Draw one long curved line which will curve on the top and make the head and then go downwards. The line is very important for the peacock.
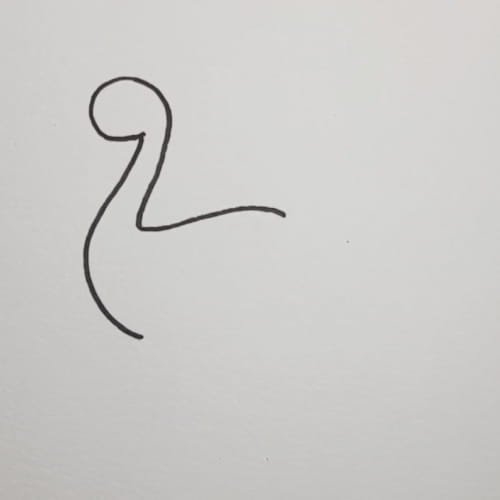
Step 2: Draw the Body of the Peacock
Draw a curved line after the neck line to make the back of the peacock. Draw a big belly and also draw a small wing inside the body. Also draw the tail feathers on the back.
This is the time when the peacock has got its body.
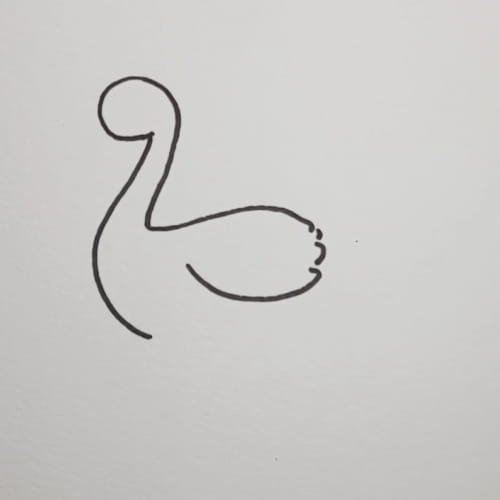
Step 3: Draw the Body of the Peacock
Draw a curve from the neck to form the abdomen. Draw another curved wing inside the body. The back should end with three small curved lines that depict the beginning of the peacock’s tail.
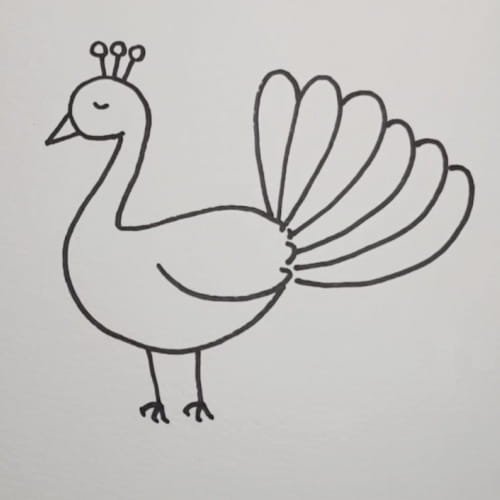
Step 4: Draw the Face, Crown, Legs, and Tail Feathers
Draw a triangular beak and a closed eye on the face. Add three circles on the head to form the crown. Draw two thin legs with small feet. Lastly, draw five large round tail feathers behind the body.
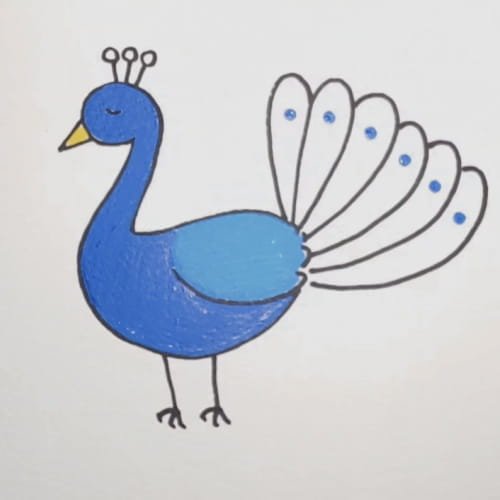
Step 5: Coloring the Peacock
The head, neck, body, and wing should be colored in various blue hues. Color the beak yellow. To make your peacock look more realistic you should draw several curved lines on its wing to indicate soft feathers. Also, you can add thin lines on each tail feather.
These little details will help you to make your peacock more realistic without making the drawing too difficult for kids.
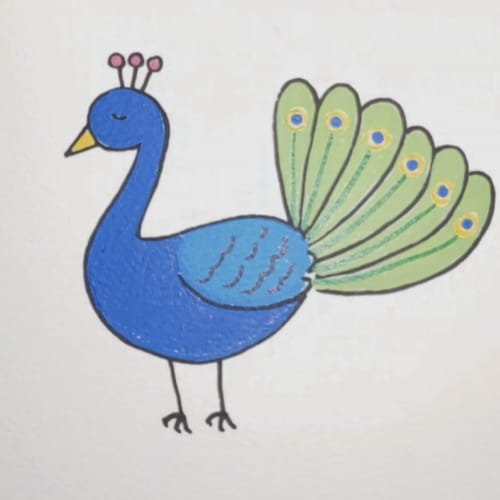
Step 6: Add the Final Cute Touches
Review your drawing and color all white areas. You should make the blue body smooth, green feathers brighter and color the beak yellow. Now your drawing is nearly finished. Complete your drawing of a Peacock for Kids with small decorations, if you want to do so. You can add more color to the picture, make some outlines darker, or just admire your work.
Well done! You have created an amazing peacock from a couple of simple steps.
Conclusion
Well done! With the help of our detailed instructions, you have managed to create your own Peacock Drawing for Kids.
Just with some simple strokes, you learned how to draw a head, a body, legs, and colorful tail feathers of a peacock. The more you practice this drawing, the better you will do it each time.
Practicing various types of birds and animals is the key to improvement in your drawing skills. The most important thing is to enjoy the process of drawing.
If you liked our Peacock Drawing for Kids lesson, don’t stop here! We have lots more simple drawing lessons for kids for you. Check out : Easy Heart Drawing for Kids Blog if you are a beginner or new here.
Watch More Kids’ Drawing and Coloring Videos on YouTube
Check out our YouTube channel for more easy-to-follow drawing and coloring tutorials for kids : https://www.youtube.com/@ohparrot1121/videos
Peacock Drawing for Kids FAQ’s
Is this Peacock Drawing for Kids drawing easy for beginners?
Yes, absolutely! This Peacock Drawing for Kids lesson is created for kids, beginners, preschoolers, kindergarten, and for all who would like to draw simple lessons step by step.
What colors shall I use for my peacock drawing?
Traditionally, peacocks have blue colored body and green tail feathers with colorful eye-shaped spots. Nevertheless, you can use any colors for your peacock and make it as unique as you can.
How long does it take to complete this Peacock Drawing for Kids drawing?
Most children complete this drawing within 15–25 minutes.
What art supplies do I need?
All supplies can be as simple as pencils, crayons, sketch pens, or colored pencils. In this lesson, I used Sharpie Marker, Canson Watercolor Paper, Ohuhu Acrylic Markers.
Can preschoolers create this peacock?
Yes, of course! Young children may need some help when drawing feathers, but simple shapes of the drawing make it possible for preschoolers.