How to Draw a Cheese| A Detailed 6 Steps Tutorial For Kids
Detailed step-by-step directions for drawing cheese for children may be found in this article. They can easily comprehend and follow these very straightforward directions. Individuals can achieve the intended outcome by methodically adhering to the directions. Additionally, students who practise food sketching will be able to creatively learn about the various types of cheese that are available worldwide and their various applications.
The milk of cows, buffaloes, goats, sheep, and other animals is used to make cheese. Asiago, Blue cheese, Bocconcini, Brie, Burrata, Cheddar, Cottage cheese, and many more varieties of cheese are available on the market, ranging only in their textures, flavours, hardness, forms, and sizes. Children may use sketching to learn about cheese.
Let’s Get Started- How to Draw a Cheese
They may simultaneously enhance their knowledge and develop their creativity by learning how to draw a cheese by following detailed directions. Clearly, one of the best methods to help kids acquire new concepts and accomplish improved learning outcomes is to have them practise sketching.
Step 1: Initiate by drawing the Upper Portion
Sketch a triangle to start. With the longest side at the bottom of the form, each of the three sides should have an individual identity length. This defines the triangle cheese wedge’s top.
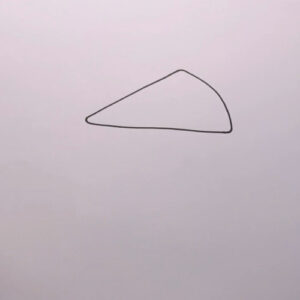
Step 2: Draw Sides of a Cheese Slice
Next, draw a straight line from the left side corner of the triangle and draw a small half-circle in the middle of the line. Then continue the line to create the bottom of the cheese.
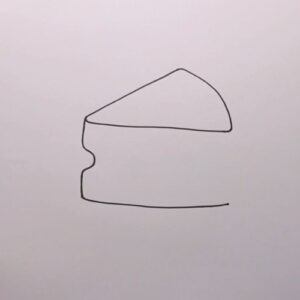
Step 3: Complete the Cheese Outline
In this step, continue the bottom line and join the line to the right side corner of the cheese, now the outline of the cheese is completed.
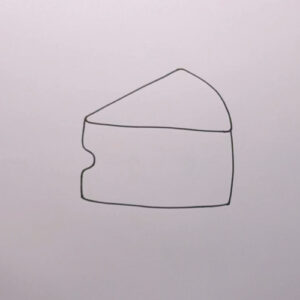
Step 4: Sketch Some Holes on Cheese
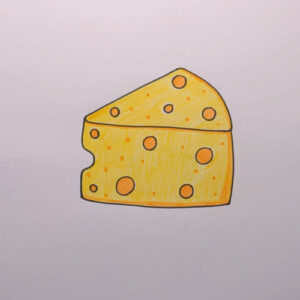
Here is an interesting part of our drawing yet to come. Add some tiny circles to form hole or air bubble characteristics on top, and the sides of the cheese.
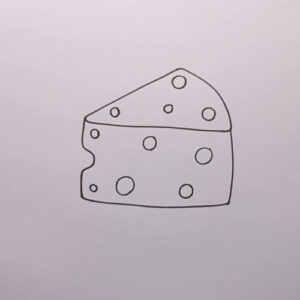
Step 5: Color Your Cheese Drawing
Give your cheese some color. Will it be bright orange like sharp cheddar, yellow, red, or a combination of shades? Will it be creamy white like Swiss cheese? You get to make the decision.
So, in our sample image, we have used yellow shade for the entire body of the cheese and orange for the cheese holes. Also, keep few orange dot on the cheese slice. See how realistic it looks!
Step 6: Add Facial Expression
Yeah! We have reached the last step of our how to draw a cheese guide. Hope, this step might be more enjoyable for kids. Now, you can add some facial detailing to your cute cheese slice. Draw closed eyes with eye lashes and a smiling mouth.
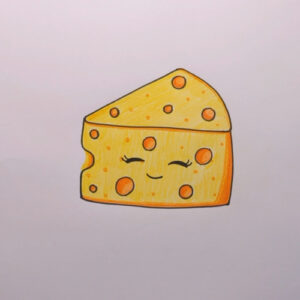
Hurray! Your Cheese drawing is successfully completed! Cheese is always a tasty treat, and we hope that this guide on how to draw a cheese was enjoyable artistic treat for you!
Video Tutorial: How to Draw a Cheese
You may enjoy plenty more amazing drawing instructions on our website and YouTube Channel! For more enjoyable sketching, we hope to meet you there.
The link is here : https://www.youtube.com/@ohparrot1121/videos
