How to Draw a Tulip in 8 Easy and Simple Steps
Welcome budding artist! Would you like to sketch a lovely tulip for me? Here are some simple steps I’ll walk you through to learn how to draw a tulip blossom. A rubber, a pencil and a sheet of blank paper are all you need.
Today we will sketch one early tulip, while many kinds are available. With a little modification to the base shape and leaf form, you can utilize this step-by-step instruction on How to Draw a Tulip to produce many other variations of tulips.
Let’s Begin Our Guide on How to Draw a Tulip
Here are 8 easy and simple step to followed to draw a beautiful Tulip flower.
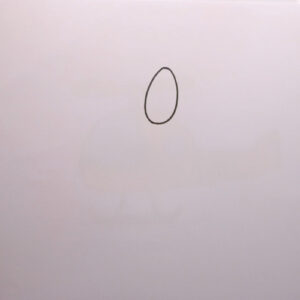
Step 1: Start with an Oval Shape
We will start the drawing of our cute flower by following these guidelines. Usually, Early tulips are single and have a bell or cup structure.
So we will initiate the flower by drawing an oval shape first, in simple words just draw an egg shape.
Step 2: Draw the Petals
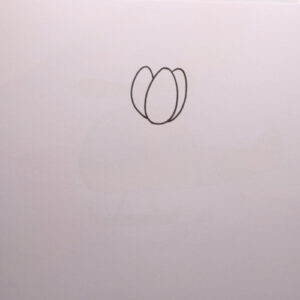
Usually, single early tulips are seen with 6 petals and they are generally pointed at the tip. So first, sketch a curved line from the bottom of the oval shape, and join to the top.
Please repeat the same thing to the left side, so we have sketched 2 petals. In further step draw extra petals and the stem of the tulip.
Step 3: Add the Backside Petals and Stem
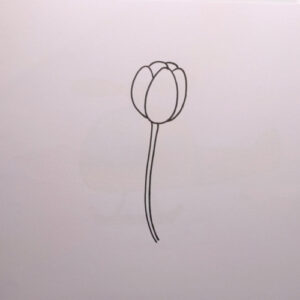
In this step, let’s add the petals in the back of the tulip to complete the entire shape. So, From the left side petal to the center petal, draw a curving line around the backs of the remaining three petals. Draw another little curve next to it now.
Next, it’s time to sketch the stem. To join the bottom of the flower, draw a vertical line. To make the line appear closer to reality, slightly curve it. Create a symmetrical extra vertical line now.
Step 4: Sketch the Leaves
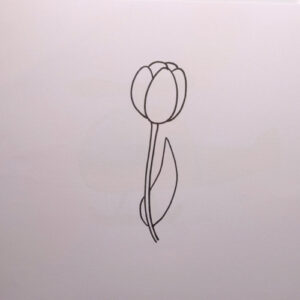
Typically, tulips have two or three long, lance- or oval-shaped leaves that are put together for the base of the flower stalk.
Draw a curving line from the base of the stem to the right side of the flower. To create a leaf, now draw a second, symmetrical curved line and attach them.
Step 5: Add Another Flower
In this guide on How to Draw a Tulip, we shall add the second tulip flower on the left side of the first flower. So, now we shall repeat the same steps as we followed to sketch the first tulip flower. Keep in mind it should be bigger in size, when compared to the first flower.
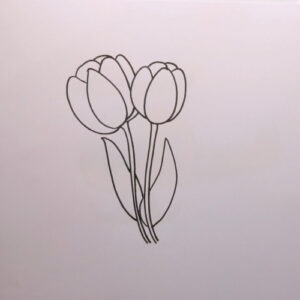
Step 6: Add the Third Flower
Here, we shall add the third tulip flower on the right side. As we said in the previous step, do follow the same guidelines.
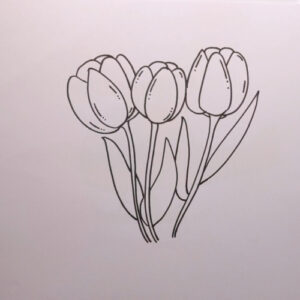
Step 7: Add some details to the Flower and Leaves
Now, we need to add additional features to give the petals and leaves a somewhat more realistic appearance. Give each flower petal a few vein-like lines. Then, sketch a few tiny lines on the flower petals using its form as a guide.
Additionally, add some backdrop detailing to your drawing. So, we shall draw some water droplets surrounding the tulip flower, as shown in the reference image.
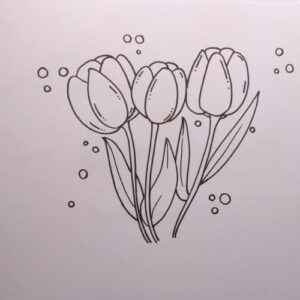
Step 8: It’s Coloring Time!
Yeah! We have reached the final stage of our drawing tutorial of How to Draw a Tulip. Finish off your tulip drawing by adding some colors. Generally, Tulips can be found in a limitless variety of colors and combinations of colors, such as stripes, color-splattered patterns, and colored petal edges. One may find tulips in various colors, including white, green, orange, purple, and even black.
Now, we shall pop up our beautiful Tulip flower in an orange shade. And use green shade to fill the leaves and the stem. Finally, fill the backdrop droplet element with a blue shade.
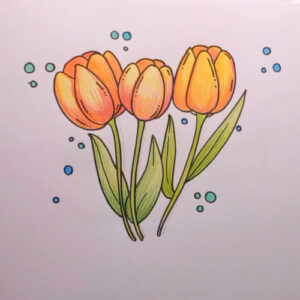
Our tulip painting is complete with these last touches! I hope drawing a flower was enjoyable for you and that the How to Draw a Tulip, tutorial was helpful. Your drawing might also serve as a sketch for painting methods such as acrylic or watercolor painting.
Video Tutorial: How to Draw a Tulip
You can visit our YouTube Channel for more video tutorials.
The link is here : https://www.youtube.com/@ohparrot1121/videos
