Cute Cactus Drawing – 7 Easy Step by Step guide for Kids
Hey there, budding artists and nature enthusiasts! Are you up for a prickly yet oh-so-charming drawing quest? Today, we’re diving into the creating mode of making something together. It is a process you will be guided easily if you follow the simple steps of “Cute Cactus Drawing“, So are you excited to start the journey?
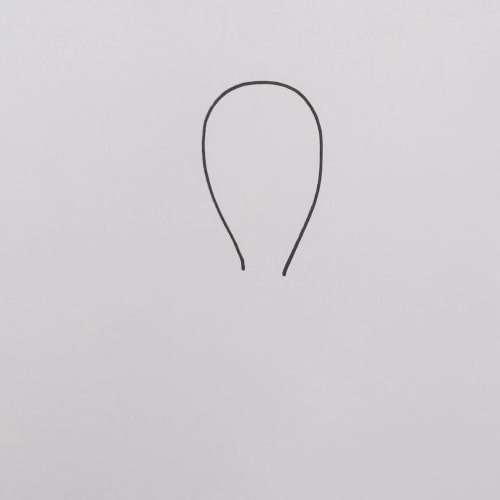
Step 1: Sketching the Basic outline of our Cactus Buddy
To begin with Cute Cactus Drawing, draw an elongated, balloon-like shape for the cactus body. Leave the bottom part of this shape open, resembling an upside-down balloon or a chubby teardrop.
Imagine this shape as the chubby body of our adorable cactus friend. Leave the bottom open to give our cactus a spot to sit snugly in its pot!
Ready to continue crafting our friendly cactus?
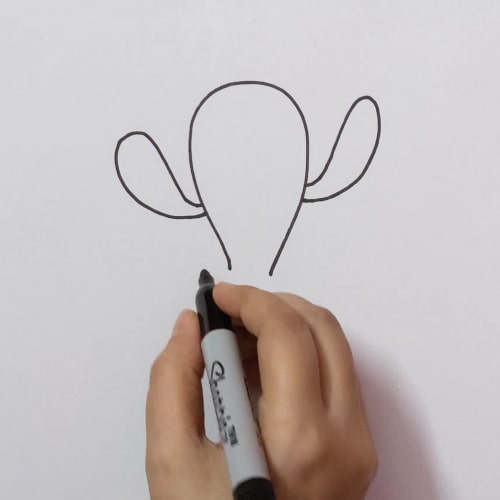
Step 2: Adding arms to our Cute Cactus Drawing
Next up, let’s give our cactus some adorable arms! Draw two slightly curved, chubby lines on each side of the outlined body. These lines will resemble chubby, balloon-like arms reaching out from the sides.
As these arms connect to the body, their endings are narrower, like they’re blending smoothly into the cactus body.
Imagine these chubby arms as cuddly little branches, ready to give the best cactus hugs ever!
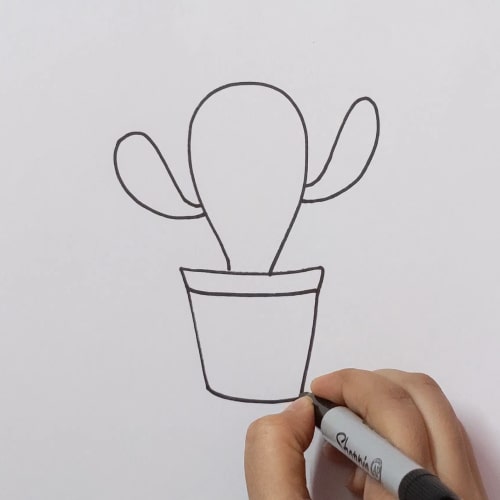
Step 3: Drawing the Pot in our Cute Cactus Drawing
Sketch a four-sided enclosed shape beneath the open bottom of our cactus body. This shape will represent the pot where our cactus buddy will reside.
Make it resemble the front view of a simple, square, or rectangular pot. Keep it easy and snug, providing a cosy space for our adorable cactus to call home!
You can make changes in the pot at this stage. You can make it round or oval or give it any other shape if you feel that is what you want for our Cute Cactus Drawing
Great job! Our Cute Cactus Drawing is now nestled in its pot.
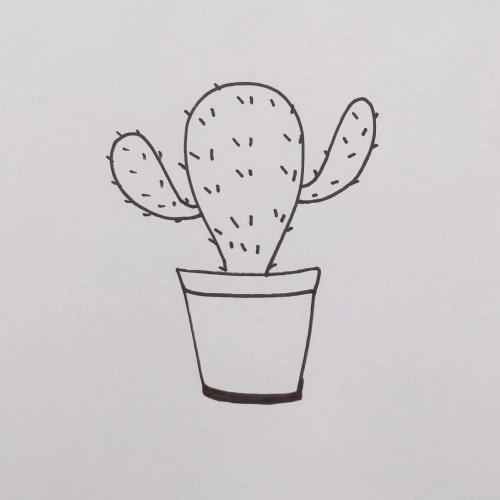
Step 4: Adding Spiky Thorns to the Cactus Body
Now, let’s give our cactus its defining feature—spiky thorns! Add numerous small, spiky shapes all around the body of the cactus. These shapes can be small, pointed lines or triangles scattered across the cactus body.
Create enough of these spiky details to give our cactus that classic prickly appearance. The more spiky shapes you add, the more it’ll resemble a real cactus!
Imagine these little thorns as nature’s way of protecting our cuddly cactus friend.
Fantastic! Our cactus is getting its spiky personality.
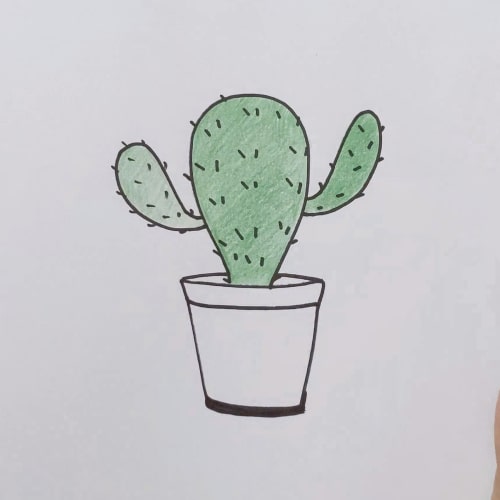
Step 5: Adding Color to the Cactus Body
Start by coloring the body of our cactus with a lovely fresh green shade. Fill in the entire body of the cactus with this green color, covering the outlined shape we drew earlier.
As you color, adjust or refine any details like the shape of the cactus body or the placement of spiky thorns. Ensure the green color covers the entire body, giving our cactus that lush, healthy look.
Feel free to adjust any details or add more definitions to the cactus arms as needed! For example, you can take a darker shade of green and color along the border.
Wow, our cactus is coming to life with that vibrant green color!
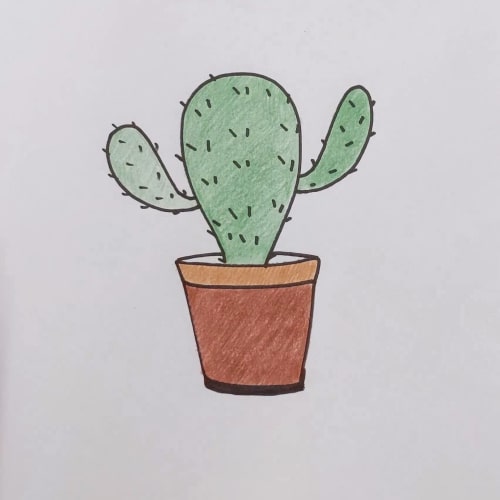
Step 6: Adding More Colors
For the pot, let’s use a combination of chocolate brown and yellow ochre (or any other favorite colors you prefer) to add some depth and texture.
Color the pot area with the chocolate brown, outlining its shape with this color. Then, add some hints of yellow ochre to create highlights or shading, giving the pot a more realistic appearance.
Feel free to blend these colors or experiment with shades to make the pot look rustic and charming.

Step 7: Giving Our Cactus a Cute Face
First, add two friendly eyes to the cactus body using small circles or ovals. These eyes can be positioned anywhere on the cactus’s body, giving it a sweet and endearing expression. Here we added them to the pot so that it looks clean and minimal.
Next, draw a gentle, cheerful smile beneath the eyes. This smile will bring out the cuteness in our cactus buddy!
Once the face is complete, use a marker or a darker pencil to outline the borders of the cactus body and pot. This outlining will help define and accentuate the shapes, making our drawing stand out.
Fantastic work! Our cactus is now sporting a cute face and looks adorable with those defined borders. How does your Cute Cactus Drawing look now?
Hope you have enjoyed the process. If you need any help you can click on the link below that will take you to the video tutorial on our YouTube channel.
Wow, you have come this far. It’s Amazing.
Thank You So Much for your patience.
You can visit our YouTube channel for more videos like this.
https://www.youtube.com/@ohparrot1121
