
Learn How to Draw a Birthday Cake in Just 5 Steps
Hello, young artist! Blowing out the candle and enjoying your birthday cake on your birthday is the most delightful experience ever. We always look forward to and love this time, no matter how old we get.
It would be quite enjoyable to plan and create your very own custom birthday cake, so we have an ultimate guide on How to Draw a Birthday cake.
To put your ultimate goal of the perfect birthday cake on paper, starting with a drawing of a cake is an excellent idea, I guess. Maybe you can try baking it and see if it comes to life!
Here are the 5 simple steps for How to Draw a Birthday cake
Thankfully, we have a comprehensive guide that simplifies drawing a birthday cake into just 5 quick and easy stages. This detailed tutorial on How to Draw a Birthday Cake makes sketching easier. You will find clear images for every step that act as a guide to help you follow the directions.
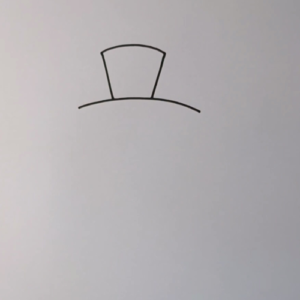
Step 1: Initiate by drawing the Top Layer of the Cake
Your cake is 3-layer cake, so you should initiate by drawing the top layer.

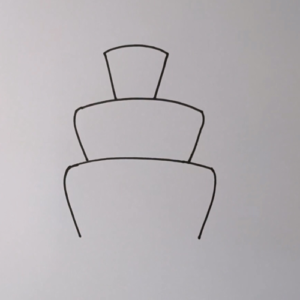
Step 2: Then, add the 2 bottom layer of the cake
Beneath the first layer of the cake, draw another 2 layers of cake similar to the first step. The second layer of the cake should be a bit larger than the other.

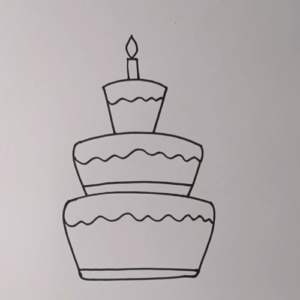
Step 3: Draw Frosting and Candle
In this step, on the cake’s top layer, draw curving lines that look like frosting. On the topmost layer of the cake, draw a structure that looks like a cylindrical shape for a candle. To create the illusion of flames on the candles, draw a structure like a leaf on top of them.

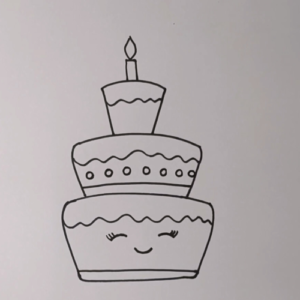
Step 4: Add some details
Yeah!, you have almost reached the final step of the birthday cake drawing. In this step, you should add some detailing features to your cake to look more realistic.
Add cherries or candy to the second layer of the cake and a smiley face design to the bottom layer, as shown in the reference image.

Step 5: It’s Coloring Time
Without some colorful sprinkles on top, a birthday cake wouldn’t be complete. So, we will be adding sprinkles on the dripping frosting of each layer, to complete your look! The most exciting stage is finally here: adding color to your beautiful drawing! This is your chance to present your creative abilities and your proficiency in color mixing.
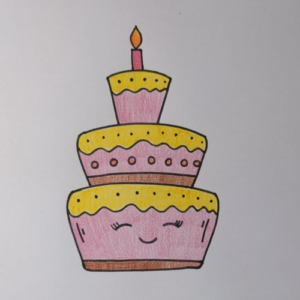

In this guide on How to Draw a Birthday Cake, we have used pink for the cake and yellow color to the dripping frosting. For the candle, we have used red and for the fire flame orange color is filled.
Hurray! You have successfully completed your masterpiece, the Birthday cake drawing. You should be feeling extremely proud of yourself, we’re glad!
This step-by-step guide on drawing a birthday cake was created to be enjoyable for you. Drawing and coloring a birthday cake with all of its beautiful parts and complicated aspects will be effortless if you follow this tutorial.
Video Tutorial: How to Draw a Birthday Cake

You can visit our YouTube Channel Ohparrot for such cute and simple videos.
The link is right here: https://www.youtube.com/@ohparrot1121/videos